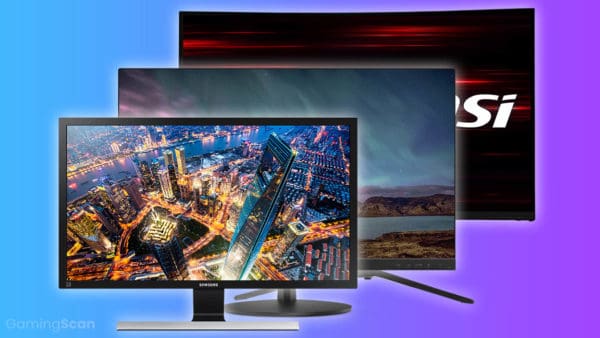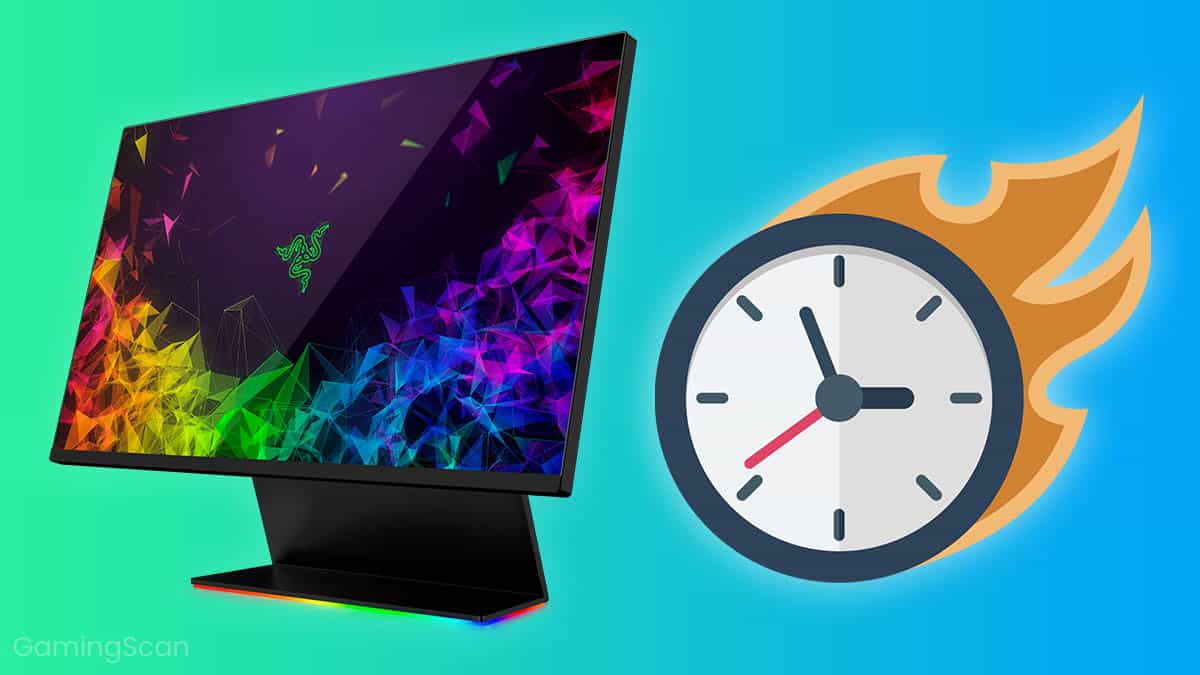
Overclocking is a term that’s usually reserved for things like graphics cards, RAM, and processors. But get this: you can overclock your PC’s monitor, too! Overclocking your monitor is pretty easy, and it can even result in a buttery-smooth gaming experience if you do it right.
However, like any overclocking process, your monitor should be overclocked very carefully so that you don’t damage the delicate internal components. Overclocking your monitor will often void its warranty, too, so before you do any tinkering, make sure to check!
In this guide, we’ll walk you through the best ways to overclock your monitor safely and effectively.
Let’s get started!
The method that you’ll use to overclock your PC monitor is relatively similar for most graphics cards, but because the platforms are different, we’ll go over several methods in this guide.
Table of ContentsShow
Overclocking With NVIDIA
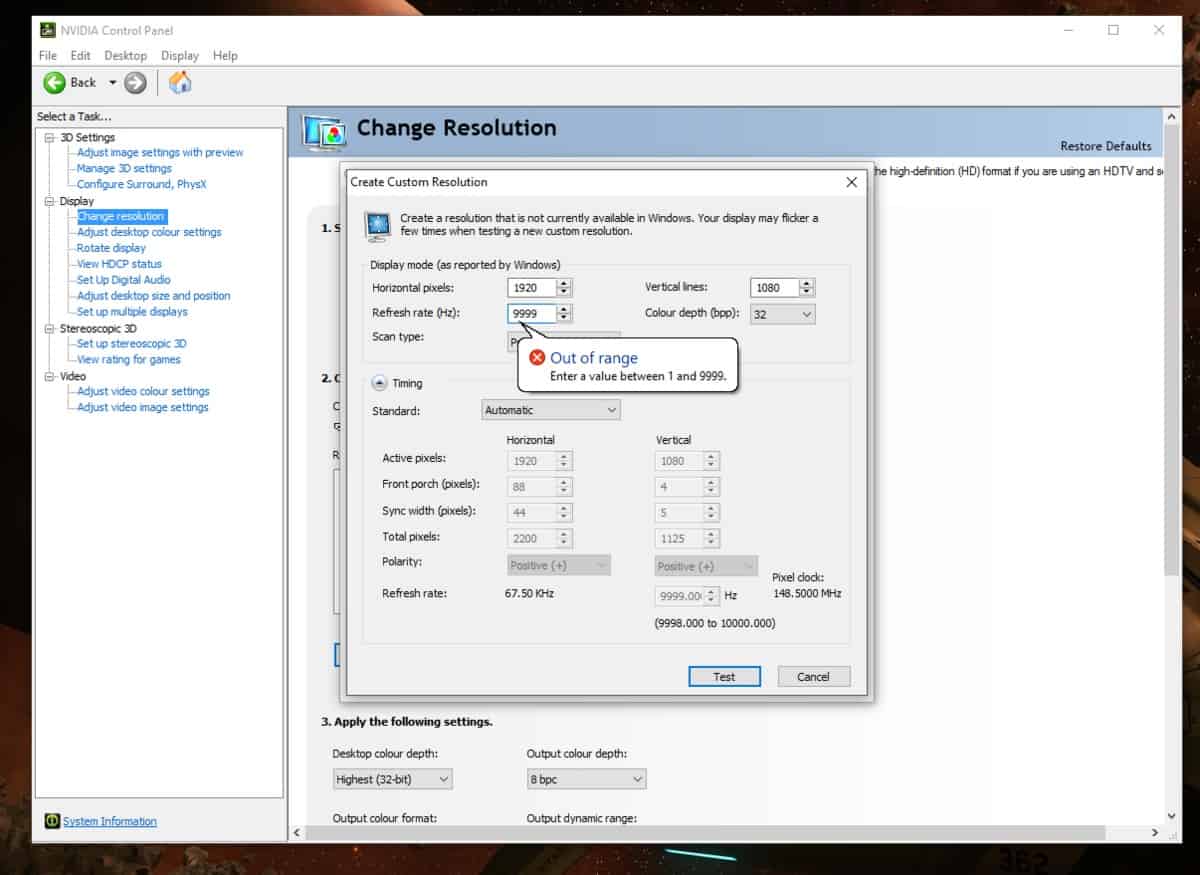
To begin, open your NVIDIA control panel on your computer. You can do this by right-clicking on your desktop and selecting it from the menu. Navigate to Change Resolution in the side menu, and then click customize.
From here, a menu box will appear that will let you change the refresh rate (Hz) of your monitor. We recommend only adjusting the refresh rate in small increments, such as 5-10 Hz. The NVIDIA control panel lets you test these results to make sure you like them before rebooting your computer.
Overclocking With AMD
Overclocking with AMD is basically the same as overclocking with NVIDIA, but it needs to be done through another platform. For AMD graphics cards, many users have found success with ToastyX’s Custom Resolution Utility, but we recommend using AMD Radeon settings instead if you can.
To begin, open your AMD Radeon settings, then click the Display tab. Next, click on Create next to Custom Resolutions. To overclock your monitor, change the refresh rate in small increments as we recommended above. When you’ve found settings that you like, hit save.

Overclocking With Intel
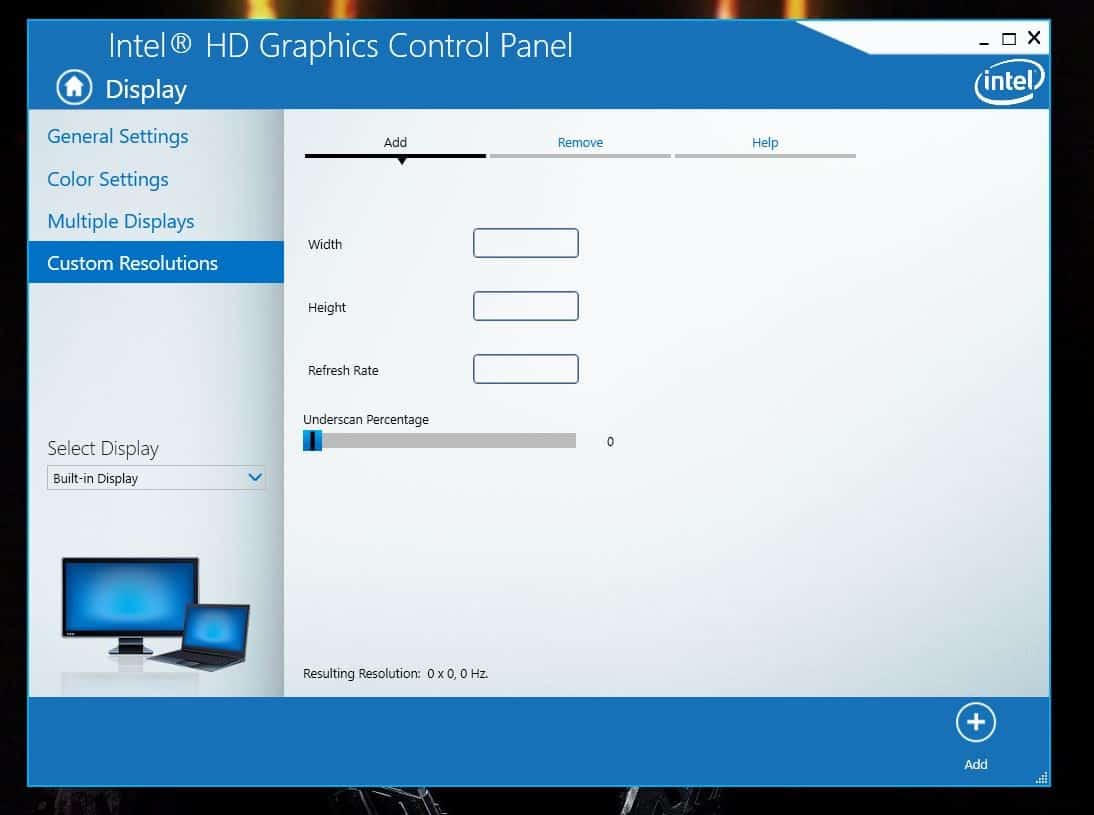
Believe it or not, you can overclock a monitor even if you’re on a laptop with one of Intel’s integrated graphics cards! To overclock one of these cards, first open the Intel HD Graphics Control Panel. From there, select Display, and then Custom Resolutions. Make sure you’re under the Add tab, lastly enter your resolution and desired refresh rate.
Things To Know About Overclocking
After you’ve chosen your overclocked settings on your monitor, you’ll need to reboot the computer for the changes to fully take effect. However, you’re not quite done yet! Sometimes, your computer will accept new overclock settings that it can’t handle, and this can result in screen tearing, black screens, or other errors.
Before you play any games, make sure that your changes have taken effect first. After that, you can either put your computer to the test through some games or run a frame-skipping test. Navigate to this website and follow the directions on the screen.
It’s also important to note that overclocking your monitor is always done at your own risk. While monitor overclocking is almost always harmless, there is no guarantee that it will not shorten the life of your monitor or cause other issues in the long run. Most monitors can handle a bit of overclocking, but there is always the risk of complications, even if that risk is minimal.
Also, do remember that your monitor itself, as well as its peripherals, limit its overclocking potential. If you’re using an outdated connection type (like DVI, which is only meant to support up to 60 Hz), your monitor may not be able to perform even with the settings enabled.
In the end, overclocking your monitor is pretty straightforward, but not fast – it requires a bit of tinkering as well as trial and error to get it right. However, if your monitor’s past its warranty or you deem it worth the risk, it can have some exciting rewards in store for your computer’s gameplay performance!