Cross method vs. dot method? And what exactly does ‘grain of rice’ mean?
Applying thermal paste may seem daunting – after all, your CPU is one of the most delicate and expensive components in your build – but there’s no need to panic.
In this guide, we’ll go over some straightforward methods for applying thermal paste to your CPU and GPU.
Table of ContentsShow
So What Is Thermal Paste? And Why Is It Important?
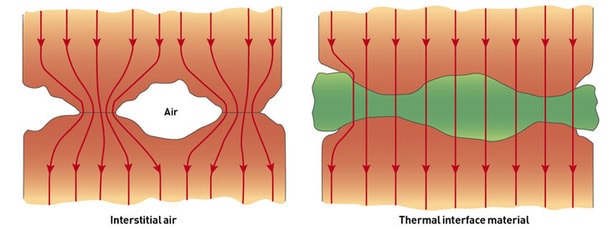
Thermal paste is a conductive compound that sits between two surfaces (like a heatsink and a CPU) to aid heat transfer. When two metal surfaces are pressed against each other, tiny air bubbles form due to the microscopic imperfections in the surface.
Air is a very poor heat conductor, so the thermal paste is applied between the surfaces to fill these air gaps and improve the rate of heat transfer.
Most CPUs will come with some form of a compound already applied to a stock fan. While this is probably enough for the average user, if you’re overclocking or want to squeeze the highest performance out of your rig, we’d recommend removing this and upgrading to an aftermarket cooler.
Mid-range aftermarket coolers start at just $40 and offer quieter operation, better heat dissipation, and an increased lifespan for your PC.
CPU Guide
Step 1: Prepare the CPU and Heatsink
What You’ll Need:
- Rubbing Alcohol
- Lint-free cloth
Fresh out the box, most CPUs won’t require any cleaning. However, if you’re mounting a new heatsink onto your current processor, you’ll need to remove the existing dried thermal paste.
You can find dedicated two-step cleansers online, but a high percentage rubbing alcohol such as 99% Isopropyl will do the job.
Apply a few drops onto the old paste and leave it to sit for a moment while it breaks up the compound. Then wipe away the residue with a lint-free cloth. Repeat this process on both the CPU and the heatsink until both are free from all waste.
Step 2: Apply the Paste
What You’ll Need:
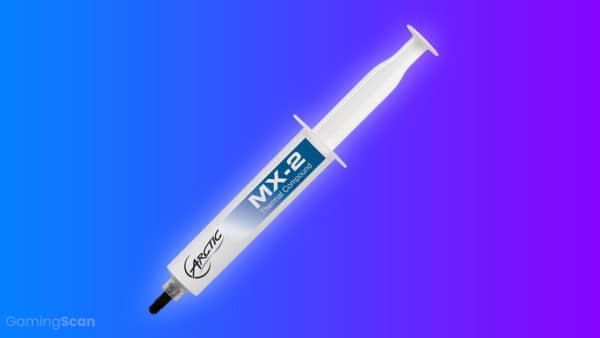
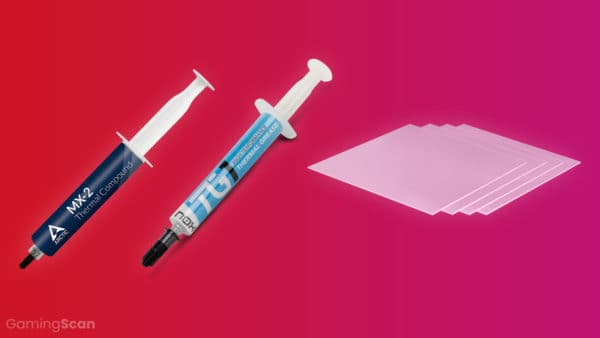
- Replacement thermal paste, such as Artic MX-4 or Noctua NT H1 Thermal Compound
There’s a lot of debate in the PC community around thermal paste application. Some swear by the dot method, while others are die-hard advocates of the spiral application style.
In reality, there’s generally very little performance difference between these methods.
As long as you apply an appropriate amount, the weight of the heatsink will evenly spread out the compound for you.
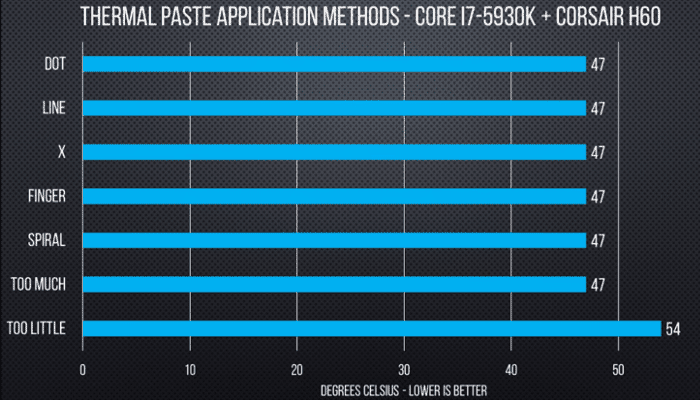
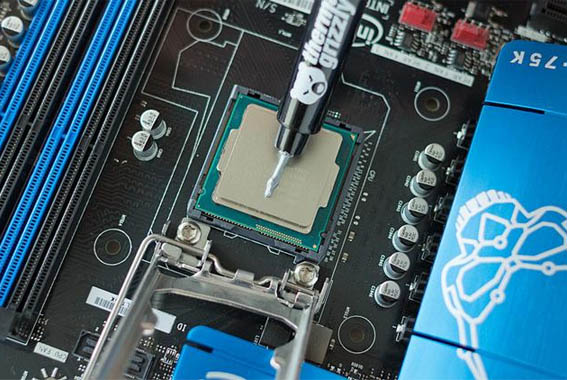
With this in mind, we recommend to simply squeeze a pea-sized dot onto the center of your CPU. Then carefully secure the heatsink on top. Don’t worry about spreading it – if you manually spread the compound, you risk creating small air bubbles that weren’t there before.
GPU Guide
Step 1: Open the Card
What You’ll Need:
- Screwdriver
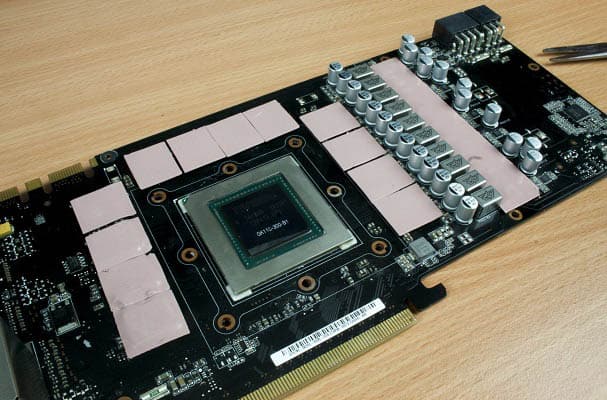
Replacing the thermal paste on your GPU is a little bit more complicated because you’ll need to open up your graphics card.
Most GPUs can be opened by simply loosening the four screws around the processor, but be careful: you might need to remove more to free the heatsink on select GPUs completely.
Once you think you’ve unscrewed everything, gently wiggle the cooler to make sure it’s completely loose. If it’s moving freely, you can slowly pull it free.
Don’t force it: if there’s still some resistance check again for missed screws. And watch out for your fan power plug! Forcing the card open can damage this fragile connection.
Your GPU might have thermal pads dotted around its components. Leave these on. Unless you have identical replacement pads, tinkering with these can cause poor contact between your GPU and the cooler.
Step 2: Remove Stock Paste
What You’ll Need:
- Rubbing Alcohol
- Lint-free cloth
Most GPU manufacturers tend to overdo it on the stock thermal paste application, so this step can get quite sticky. You can remove the dried thermal paste from the GPU by adding a few drops of rubbing alcohol to the old compound and gently buffing it off.
Cleaning up the heatsink is where it gets messy. Apply some rubbing alcohol onto a fresh portion of your lint-free cloth. Then remove the excess paste with slow, deliberate wipes. Once the bulk of the paste is gone, you can gently rub off the rest with a cleaner part of the cloth.
Step 3: Apply the Paste
What You’ll Need:
- Replacement thermal paste
Finally, place a pea-sized dot of thermal paste in the center of your GPU. Again, don’t spread it. Secure the heatsink back onto the card, and the pressure will spread the paste for you.
Conclusion
And you’ve done it!
You can now successfully apply thermal paste to both a CPU and GPU. Once you get started, the process is much less fiddly and more straightforward than it’s made out to be.
Upgrading your thermal paste is a great way to breathe life into an old GPU, or prepare your CPU for overclocking. And by following the above steps, you’re sure to see an improvement on both idle and load temperatures.