Going up and down your mine or quarry in Minecraft can be very tedious. Most players usually build staircases and ladders in the early game to go up and down their mines and other big projects.
However, some genius players have started building elevators as a faster way of moving around. On one hand, there are elevators that are made out of redstone contraptions.
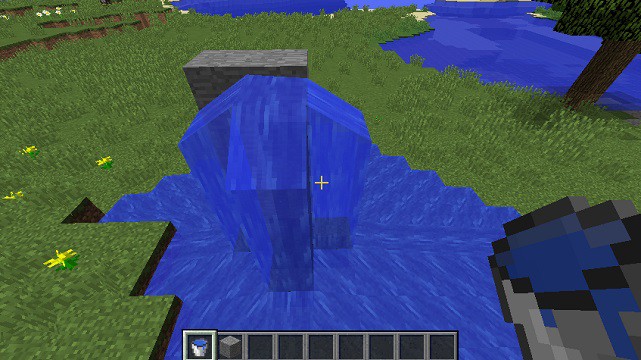
On the other hand, there are also elevators that use water columns and bubbles to go up. This makes transitioning between the floors of your house or your mine seamless and even stylish.
Allow us to breeze through everything you need to know on how to make a bubble elevator in Minecraft.
Let’s get started with the materials needed!
Table of ContentsShow
Gathering The Needed Materials
Like any other Minecraft project, the first step in building is obtaining the needed materials to construct the bubble elevator.
Here is a summary list of the materials needed in building the elevator:
- Building Blocks (depending on the height)
- Buckets of Water (at least 2)
- Door Frames (at least 2)
- Kelp (depending on the height)
- Soul Sand Block (at least 1)
- Magma Block (Optional; at least 1)
Let’s discuss each of the following in the next section.
Get Building Blocks
As always, you need to choose and get what building material you want to construct the elevator with. This part is crucial since it will serve as the backbone of your elevator.
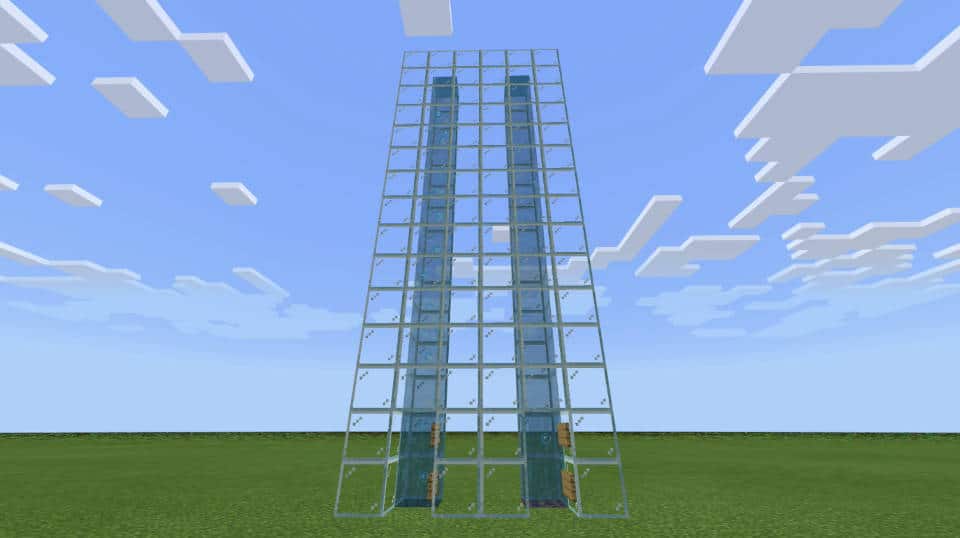
Most of the time, players use glass blocks so that they can see the outside just like in some real-life elevators. It also allows you to see the one using the elevator. Nevertheless, you can use any block you like.
You can use matching blocks that are already used in your house or building. Another excellent building material to make the elevator is concrete.
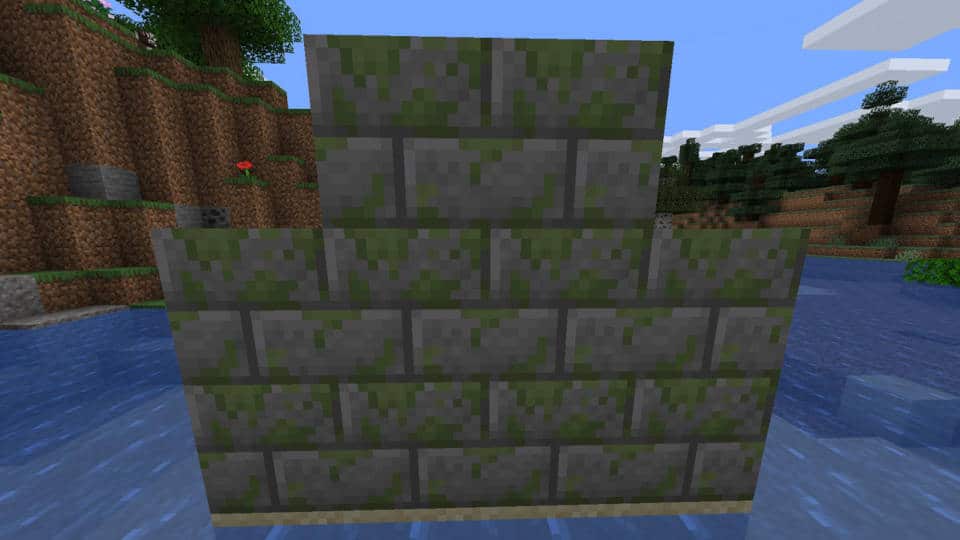
One other suggestion is to use mossy cobblestone or mossy stone brick to give the elevator an old overgrown or ruined vibe. An example image is shown below:
The only important thing to know about gathering the building block is to know the height of the elevator you are going to make. You should count the block using the coordinates found on your debug screen.
Once you have counted the height of the elevator, multiply the number by 4. The result is the minimum number of building blocks you need to construct the elevator.
The height of the elevator is multiplied by 4 because the bubble elevator itself needs 4 sides for the water to stay in place and work.
Once you have gathered enough building blocks, we can proceed to the next material.
Get Water Buckets
The next important material for the elevator is water itself. You will need at least 2 water buckets to create a nearby infinite source of water.
The infinite source of water is created just in case you are building in a remote location and your project is not near a river, an ocean biome, or any other source of water.
Nevertheless, you will only need 1 bucket of water per column of the elevator. You can get multiple buckets for each elevator you want to make in your base.
Buckets are made using 3 iron ingots arranged in a “V” pattern on a crafting table. After which, you are ready for the next material if you now have enough buckets of water.
Get A Door
Aside from the building blocks and water buckets, you will also need doors. A door is used not only for decoration but also to stop the water from flowing outside of the elevator column.
You would want an entrance or an exit point in every elevator column. Door frames easily block the water flowing out of the entrance or exit.
A total of 6 wooden planks of any type of 6 iron ingots are used to craft a door. Doors are crafted by filling up the 2 columns of the crafting table grid with the appropriate materials.
Other than doors, you can also use signs as well to prevent the water from flowing out of the elevator tube. Signs are a little bit better than doors since you do not have to open or close them just to enter or exit the elevator.
Aside from that, you can also write instructional messages on the signs themselves to remind players how to properly use the elevator.
However, aggressive mobs such as zombies or creepers, can easily enter the elevator and surprise unsuspecting players in their bases. This is prevented by using doors instead.
Once you have crafted enough doors, let’s go to the next material.
Get Kelp
Kelp is one of the key materials you will need to easily make a bubble elevator in Minecraft. For the bubble elevator to work properly, the water inside the column should all be source blocks and not flowing water.
The solution for this is to plant kelp and let it reach the whole length of the elevator column. By doing this, all the water blocks, flowing or not, in the elevator column will be transformed into a source block.
This quick little trick is an implemented gameplay mechanic, so you do not have to worry about cheating or not. It is definitely not a cheat.
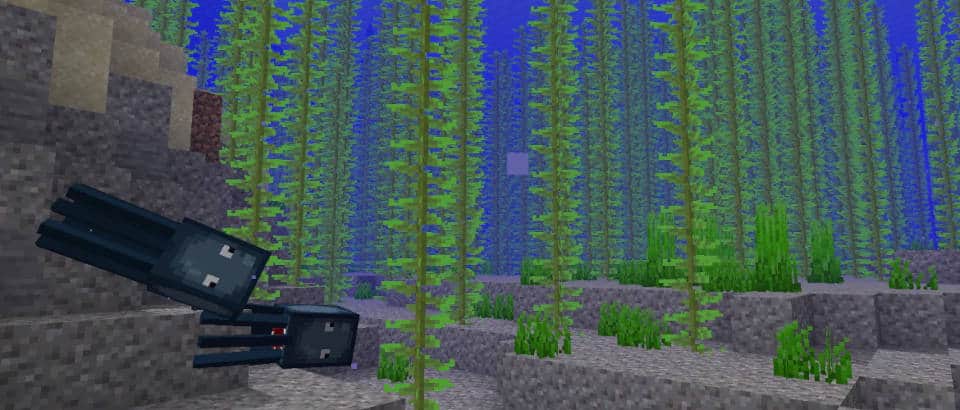
The only problem in this step is getting the kelp itself. If your project is near an ocean biome, then you are in luck. Kelp is usually found on the ocean floor.
Swim down the ocean and break the lowest part of the kelp to harvest the whole plant.
Once you have gathered enough kelp to fill your entire elevator column, you can now head back to your base to prepare the next material.
Get Soul Sand Blocks / Magma Blocks
To gather these next materials, you will have to go to the Nether dimension. Before going, make sure that you have the best enchantments for your gear to protect you from dying.
There are magma blocks that can be found in the Overworld. Some can be found in ruined Nether portals and underwater ruins.
But since you are going to need soul sand blocks as well, going to the Nether dimension to get both types of blocks is more efficient and less time-consuming.
Placing the soul sand underwater generates the bubble column required for the elevator to work. It only takes 1 block of soul sand for each elevator column you will make.
On the other hand, magma blocks also create a bubble column when placed underwater. However, instead of going up like the bubble column from soul sand, it goes the other direction, downward.
Using magma blocks for the downward elevator is optional. The downward column can just be a drop-shaft elevator instead where water will be cushioning the fall on the way down to prevent fall damage.
But if you decide to get magma blocks, remember to always be careful when you are exploring the Nether dimension to gather these materials. There are a lot of possible threats that can easily result in your in the Nether dimension.
Other than that, bring your shovel for the soul sand blocks and your pickaxe for the magma blocks.
Once you have gathered enough, you can go back to the Overworld to start the construction of your bubble elevator!
With all of these materials checked and accounted for, the following section will list the steps in making the basic bubble elevator in your Minecraft world.
Making The Bubble Elevator
According to the Minecraft Wiki, different types of water elevators can be constructed in the game. The most basic one is a waterfall.
The problem with a waterfall is that players can drown if the elevator length is too long. With the bubble elevator, the users are constantly getting oxygen wherein the breath level found on top of the hunger bar does not go down.
Aside from that, you do not have to press the spacebar button to go up a water column when using the bubble elevator. That is why most players opt to build a bubble elevator even though some of the materials needed are slightly difficult to get.
Therefore, without further ado, here are the steps in making the bubble elevator in Minecraft:
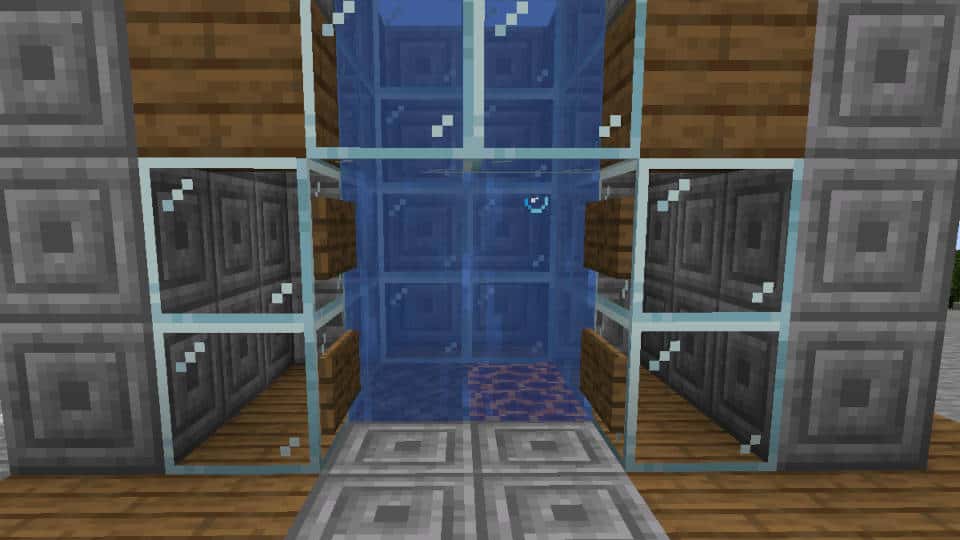
- Choose the appropriate space where you would want your elevator to be. The minimum area for a single elevator column is a 3 × 3 space.
- After which, use the specified building blocks that you want your elevator to be made with. Place a diamond starting pattern in the 3 × 3 space and extend that pattern going up to your desired height of the elevator.
- Once you have made the hollow tube of the elevator all the way up to your desired height, place a single water source inside the tube on the height level and let it flow all the way down.
- From there, you need to go back down and remove 2 blocks on the first 2 layers of the tube where you would want the entrance to be. Do not worry that much about the water overflowing on the ground.
- The next step is to place a door or 2 signs on the entrance that you have made to block the flow of water out of the tube.
- At this point, you already have a simple waterfall column that you can use to go up. The next step is to place the kelp on the floor of the water column.
- You will notice that the water will transform into a source block. Keep placing kelp until it reaches the top level of your elevator.
- Once you have transformed all of the water blocks into source blocks, it is time to generate the bubbles. Place a single block of soul sand on the bottom of the lowest water block of the elevator.
- Bubbles should now be visible going up the water column until it reaches the highest point of your elevator.
- You now have a working bubble elevator in Minecraft!
The same steps are used for creating a bubble elevator that goes down. But instead of placing soul sand in Step 8, place a magma block instead.
You will notice that the bubbles will be going downwards.
Aside from that, you might be wondering “What is the maximum distance the player can travel through an elevator?”
Quick Tip: There is no limit on what desired height your bubble elevator can be. You can build it for as long as you want it to be.
Also, you will not have to worry about drowning as the bubbles will provide adequate breathing for you even though your elevator is really long. You should feel free to build it with any height in mind.
If you are still having trouble following the steps, here is a helpful tutorial video:
Conclusion
Congratulations! That’s everything you need to know about how to make a bubble elevator in Minecraft!
By following this guide, you can now construct a lot of bubble elevators in your Minecraft world. We suggest that
Good luck and have fun!