In previous Animal Crossing entries, players found themselves basically stuck with whatever town layout they had selected at the beginning of the game.
ACNH not only ditches this concept but also allows players to have the freedom to finely tune just about every part of their island via terraforming.
This opens the door to extremely expressive and distinct island layouts with unique rivers, paths, waterfalls, and cliffs that have all been hand-placed.
In this guide, we’ll show you how to use the Island Designer app for terraforming, detail its many features, and share best practices for modifying/adding paths, rivers, waterfalls, and cliffs to your island.
If you would like to learn more about island living, check out our ACNH tips and tricks guide to help get you started.
Table of ContentsShow
How To Unlock The Island Designer App

You won’t have access to the Island Designer app at the start of the game since the feature requires you to complete about two weeks’ worth of objectives before Tom Nook will ask you to take on a special assignment called Project K with hopes of attracting legendary musician KK Slider to come perform on your island.
Project K includes multiple tasks that will need to be completed over several days. However, if you’ve been putting some effort into your island’s appearance, you should be able to complete it in less than a week. Here’s what you need to do:
- Build the campsite on your island
- Invite at least one camper to come live on your island
- Build and furnish three housing plots
- Convince three villagers to move to your island during Mystery Tours
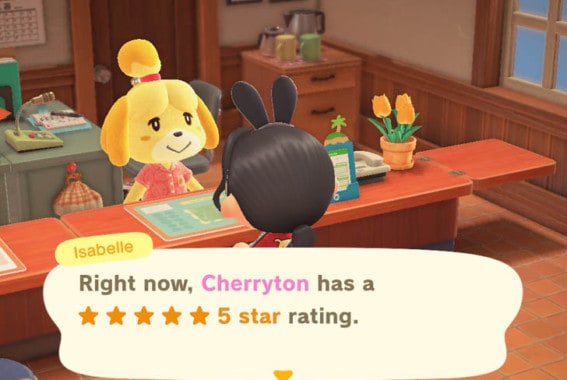
- Achieve a three-star island rating
Once you’ve completed the final step and gotten a three-star rating, Tom Nook will contact you on the next day requesting you come to see him. When you go to talk to him, he’ll give you credit for your hard work and offer to install the Island Designer app on your NookPhone.
How To Terraform Your Island
When you first open up the Island Designer app, you’ll find you only have access to the Path tool and two path types: Grass and Dirt. To unlock more path types as well as both the Waterscaping and Cliff-Construction tools, you’ll have to purchase them each separately using Nook Miles at the kiosk in Resident Services.
How To Build Paths
Paths are a great way to differentiate between your island’s numerous shops and houses as well as guide visitors. They’re also a great way to spruce up your island’s appearance and give it some personality.
However, there are some restrictions to building paths, with both your shoreline and the Resident Services plaza deemed off-limits by the game.
To build paths, open the Island Designer app and press the (+) button to pull up the permit menu. Select the Path tool along with your desired path type. Now, whenever you press A while facing a patch of grass, your character will place a tile of pathing on the ground or remove an existing tile.
You can put different path types next to each other with a small grass border separating them, and easily remove unwanted pathing using the Grass path type.
Pressing A on adjacent tiles will cause their corners to become rounded, allowing you to create interesting curves and shapes. There are an additional eight path types available for purchase in the NookStop kiosk:
- Stone
- Brick
- Dark dirt
- Arched tile
- Sand
- Terra-cotta
- Wood
- Custom Design
Each path type costs 2,000 Miles except for the Custom Design path type, which costs 2,300 Miles. This type allows you to build a path using any of the Custom Designs you have saved in your NookPhone.
Custom Design paths can be removed at any time by pressing Y and allow you to create more intricate paths using multiple pieces.
Additionally, if your Custom Design has any transparency, you can place it onto existing paths or grass for interesting looks. If you happen to change a Custom Design in your NookPhone, any path that utilizes that design will be altered as well.
How To Build Rivers
To build or modify an existing river, open the Island Designer app, press the (+) button to pull up the permit menu, and select the Waterscaping tool.
Now, whenever you press A while facing a patch of grass, your character will create an empty trench in the ground. Press A again to fill the trench with water and continue placing and connecting trenches to create rivers and other bodies of water.
Similar to the Path tool, connected trenches will have their corners rounded whenever you press A along their edges. If you prefer a hard angle, simply press A again to remove the rounding effect. Since the Waterscaping tool is a lot more challenging to use, we’ve provided some additional tips to save you some trouble:
- Characters can hop across trenches that are 1-2 tiles wide without the Vaulting Pole
- Bridges require four water tiles across and three down on either side
- Fish won’t spawn unless your body of water has at least three tiles
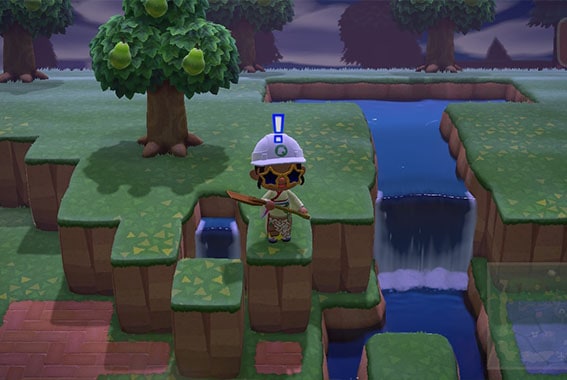
How To Build Cliffs and Waterfalls
To build or modify an existing cliff, open the Island Designer app, press the (+) button to pull up the permit menu, and select the Cliff-Construction tool.
Now, whenever you press A while facing a patch of grass, your character will create a cliff on top of it. Additionally, pressing A at the base of an existing cliff will destroy it.
Cliffs are stackable up to three levels; however, you won’t be able to access the third tier. Just like with paths and rivers, you can round the edges of any connected cliffs by pressing A. Lastly, since your villagers will not be able to traverse cliffs, remember to build inclines such as ramps and stairs.
To create a waterfall, switch back to the Waterscaping tool and stand at the edge of the cliff you would like to have the waterfall drop down from. Press A to create a waterfall and A again to destroy it.