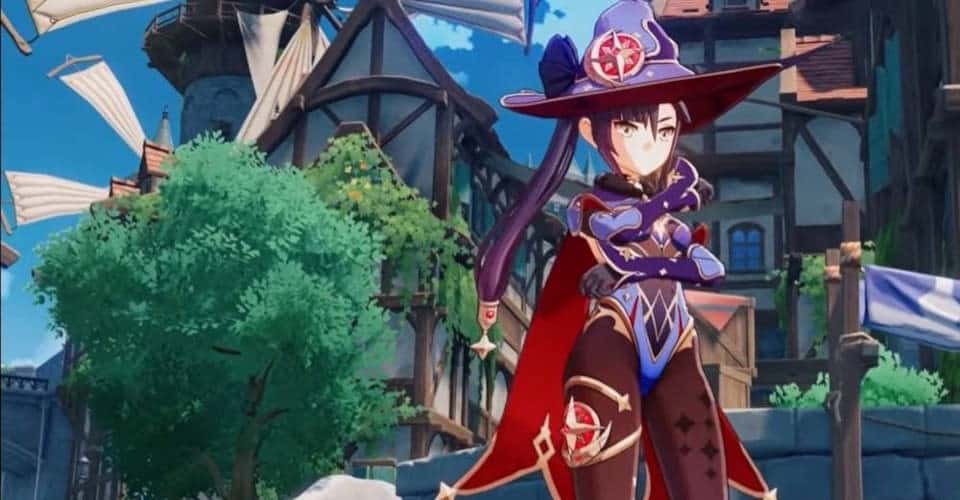
Mona is a 5* Hydro Catalyst Support best known for enabling players to achieve some outlandish Damage-Per-Screenshot numbers.
Among the roster of Standard Banner 5* characters, she’s arguably the best one—if we’re going by endgame content usage statistics. But the reason for this isn’t due to her overall usefulness and versatility. Instead, it just so happens that she’s an amazing—irreplaceable even—component for one of the game’s most outrageously powerful team compositions—the Morgana team.
However, the Morgana team is comprised of very specific and hard to obtain 5* characters, so the average player won’t be able to use her in this way. Be that as it may, Mona’s meta relevance has far exceeded that of Diluc, another Standard Banner 5* character who was at one point considered the best unit in the game but has long since been relegated to the sidelines.
In this guide, we’ll mostly focus on ways in which the average player can make the best use of Mona by analyzing her talents, constellations, weapon choices, artifact set choices, and team synergies. We will, of course, also explain how to run the Morgana team and what makes it so devastatingly good.
So, without any further ado, let’s begin.
Table of ContentsShow
Mona’s Talent Priority

| Talent | Description | Priority |
|---|---|---|
| Normal Attack (Ripple of Fate) | Normal Attack Perform up to 4 water splash attacks that deal Hydro DMG. Charged Attack Consumes a certain amount of Stamina to deal AoE Hydro DMG after a short casting time. Plunging Attack Gathering the might of Hydro, Mona plunges towards the ground from mid-air, damaging all opponents in her path. Deals AoE Hydro DMG upon impact with the ground. | Unless you’re running an Electro-Charged team with Mona as the on-field Hydro applicator, you should not be using her to perform weapon attacks. In other words, this is Mona’s least important talent. |
| Elemental Skill (Mirror Reflection of Doom) | Creates an illusory Phantom of Fate from coalesced waterspouts. The Phantom has the following special properties: • Continuously taunts nearby opponents, attracting their fire. • Continuously deals Hydro DMG to nearby opponents. • When its duration expires, the Phantom explodes, dealing AoE Hydro DMG. Hold Utilizes water currents to move backwards swiftly before conjuring a Phantom. Only one Phantom created by Mirror Reflection of Doom can exist at any time. | Mona’s Elemental Skill deals negligible DMG but offers amazing utility. In addition to taunting enemies, it periodically applies Hydro, which many team compositions will be grateful for. Plus, it can be used as an emergency button dodge that costs no Stamina. But the only thing that scales with this talent’s levels is the negligible DMG. So, while this is Mona’s second priority talent, there’s no need to level it up too high. |
| Elemental Burst (Stellaris Phantasm) | Mona summons the sparkling waves and creates a reflection of the starry sky, applying the Illusory Bubble status to opponents in a large AoE. Illusory Bubble Traps opponents inside a pocket of destiny and also makes them Wet. Renders weaker opponents immobile. When an opponent affected by Illusory Bubble sustains DMG, it has the following effects: • Applies an Omen to the opponent, which gives a DMG Bonus, also increasing the DMG of the attack that causes it. • Removes the Illusory Bubble, dealing Hydro DMG in the process. Omen During its duration, increases DMG taken by opponents. | To simplify a very wordy ability description, Mona’s Burst applies Hydro and traps smaller enemies in place. Then, when an enemy affected by the Burst takes DMG, all DMG they receive is multiplied by up to 60% for 5 seconds at talent level 10. Doing this will also trigger a huge instance of Hydro DMG. So, if you’re looking to reach some amazing DPS values—where DPS stands for Damage-per-Screenshot—this Burst is irreplaceable. But even outside of such gimmicky scenarios, Mona’s Burst is just a useful ability for bursting down enemies, easily making this her most important talent. |
Mona’s Passive Talents
| Talent Name | Description | Evaluation |
|---|---|---|
| Illusory Torrent | Alternate Sprint Mona cloaks herself within the water’s flow, consuming stamina to move rapidly. When under the effect of Illusory Torrent, Mona can move at high speed on water. Applies the Wet status to nearby opponents when she reappears. | Alternate sprints are a controversial feature. In theory, being able to traverse over water or move faster is amazing. But not having access to the regular sprint is something most players find missing in combat. With that in mind, this is a feature that can make or break a character, but you have to try it to understand how you feel about it. |
| Principium of Astrology | When Mona crafts Weapon Ascension Materials, she has a 25% chance to refund one count of one material out of all the crafting materials used. | Free Resin is great! |
| “Come ‘n’ Get Me, Hag!” | After she has used Illusory Torrent for 2s, if there are any opponents nearby, Mona will automatically create a Phantom. A Phantom created in this manner lasts for 2s, and its explosion DMG is equal to 50% of Mirror Reflection of Doom. | This is certainly a fun ability, but don’t expect too much. And that’s honestly okay. Not every ability is created with the singular goal of being great for endgame content. So long as at least one passive talent is great, the other can be gimmicky without any issues. |
| Waterborne Destiny | Increases Mona’s Hydro DMG Bonus by a degree equivalent to 20% of her Energy Recharge rate. | To counteract the fun but underpowered previous talent, this one is the opposite—highly impactful, but kind of bland. Mona’s most impactful ability is her Burst. With this talent, you are rewarded for stacking Energy Recharge and smoothing out her rotation with some extra DMG. |
In a nutshell, Mona’s got one amazing ability and loads of fun ones.
If you want to use her to tackle the endgame, then all you really care about is her powerful Elemental Burst. It, alone, is strong enough to carry her as a unit, although her being a Hydro character and providing some off-field Hydro application through her Elemental Skill certainly helps.
This is what has kept her relevant since the game’s release.
But if you just want to have fun playing her, you can enjoy all the other assets her versatile kit provides.
For open-world exploration, her Alternate Sprint can be amazing to avoid swimming. She can even be built as a serviceable main DPS, either relying on Vaporize to skyrocket her DMG or on Electro-Charged to drive the barrage of AoE procs with her Normal Attacks. And going the Damage-per-Screenshot route is also a fun and rewarding option. If you like seeing big DMG numbers, Mona can be used to turn almost any DPS into a massive nuker.
All of this is to say that we’re huge fans of how miHoYo has configured Mona’s talents.
Mona’s Constellations
| Constellation Name | Description | Evaluation |
|---|---|---|
| Prophecy of Submersion | When any of your party members hit an opponent affected by an Omen, the effects of Hydro-related Elemental Reactions are enhanced for 8s: Electro-Charged DMG increases by 15%. Vaporize DMG increases by 15%. Hydro Swirl DMG increases by 15%. Frozen duration is extended by 15%. | Omen was already one of the best buffing abilities in the game, and this constellation makes it even better. But instead of adding a flat amount to the DMG buff her Burst provides, C1 instead buffs the effectiveness of Hydro-related reaction. Vaporize is the big winner here, but all options are potent. |
| Lunar Chain | When a Normal Attack hits, there is a 20% chance that it will be automatically followed by a Charged Attack. This effect can only occur once every 5s. | The mixture of fun and power seen throughout Mona’s base kit is evident again in her C2. This only benefits Mona as a main DPS, but the benefit is both substantial in terms of DMG and feels fun when it procs. |
| Restless Revolution | Increases the Level of Stellaris Phantasm by 3. Maximum upgrade level is 15. | We love it when a character’s most important ability gets the constellation boost treatment at C3, which is precisely the treatment Mona got. That being said, the developers decided to freeze the scaling of both Omen’s duration and extra DMG at level 10, meaning that the only this you get from this constellation is a bit more Hydro DMG. Her Burst does do a ton of Hydro DMG, but it’s still disappointing. So Mona’s C3 is a constellation that should be amazing but is instead kind of meh. |
| Prophecy of Oblivion | When any party member attacks an opponent affected by an Omen, their CRIT Rate is increased by 15%. | As if to make up for the needlessly frozen scaling of Mona’s Burst for the levels provided by C3, her C4 buffs CRIT Rate. This is an impactful constellation no matter how you look at it. |
| Mockery of Fortuna | Increases the Level of Mirror Reflection of Doom by 3. Maximum upgrade level is 15. | Mona’s Elemental Skill scales normally past level 10, but as mentioned before, the DMG scaling was always the least important aspect of that ability. So this constellation is garbage, but at least it functions exactly as advertised. |
| Rhetorics of Calamitas | Upon entering Illusory Torrent, Mona gains a 60% increase to the DMG of her next Charged Attack per second of movement. A maximum DMG Bonus of 180% can be achieved in this manner. The effect lasts for no more than 8s. | Mona’s C6 is another high-fun, low-impact constellation that serves to bolster her main DPS capabilities. |
Overall, Mona’s constellations are a mixed bag.
Some are designed to increase her on-field DPS output, like C2 and C6. These are amazing constellations for Mona fans who just want to play their favorite character and don’t care about optimal rotations or using the most broken S-Tier DPS characters. As much as we love these kinds of constellations, we should point out that they do nothing to increase Mona’s usefulness as a support.
Other constellations power up her buffing capabilities in meaningful ways, like C1 and C4. C4 is arguably the best constellation she has, just in terms of overall power. However, C1 is also powerful, but just not as much for the Morgana team.
The only constellation that’s truly awful is C5. We may have been hard on C3, but honestly, it’s more disappointing than bad. As mentioned, even without the extra buffing component, Mona’s Burst does a ton of Hydro DMG, so getting that buffed leads to noticeably more DMG.
All of this is to say that Mona is a character who doesn’t need any constellations to be one of the best buffers in the game and is completely viable for even the hardest endgame content.
In any case, how you’ll feel about receiving duplicates of Mona will depend on how you use her, but there’s more good (and fun) here than bad.
Best Weapons For Mona
| Weapon Rarity | Explanation |
|---|---|
| Favonius Codex 4* | Mona can be played in different roles and different ways. Different weapons will complement these playstyles, but a weapon that’s always great on her is Favonius Codex. The base DMG is decent, the Energy Recharge substat sorely needed, and the passive useful regardless of whether she’s a Support or a DPS. |
| The Widsith 4* | Arguably the best DPS Mona weapon, the Widsith is great no matter which of its passives you proc. You just can’t beat that CRIT DMG substat, with plenty of base ATK to boot. |
| Hakushin Ring 4* | Whether or not you should even bother with the Hakushin Ring depends on the team composition. We only recommend running this in an Electro-Charged team, which Mona works great in. That being said, if you’re using this weapon in an Electro-Charged team, the passive will increase the Elemental DMG of (likely) all characters by up to 20%, which is insanely good. And on top of that, the base ATK is high and the Energy Recharge substat much appreciated. So while restrictive, this weapon enables Mona to support the entire party which will be doing off-field DMG while she deals loads on on-field DMG, making it the most unique weapon in this list. |
| Mappa Mare 4* | While the Hakushin Ring greatly outshines it in certain situations, Mappa Mare is the default craftable weapon you can give to Mona. Don’t expect greatness, but it will perform decently in all team compositions. |
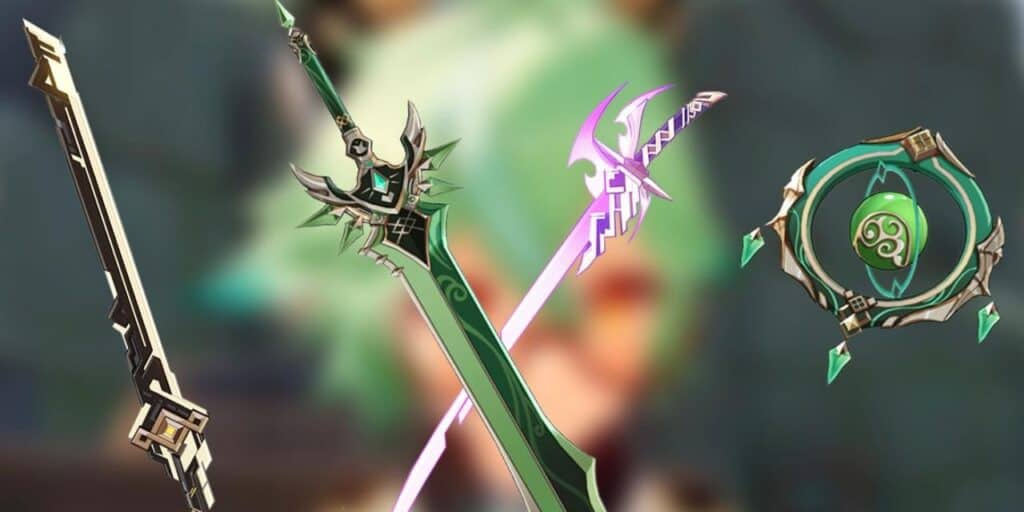
| Skyward Atlas 5* | Surprisingly, there aren’t a lot of 5* weapons that complement Mona’s kit. The high base DMG they provide is great, but in terms of substats and passives, Skyward Atlas is the best. Nothing about this weapon’s stats is wasted on Mona and its raw stats are good enough to buff up her DMG quite a bit, but it’s a brute-force method of buffing that’s not as elegant, fun, or synergistic as the options above. |
| Thrilling Tales of the Dragonslayer 3* | With the understanding that you will seriously gimp Mona’s personal DMG output, you could give her an r5 Thrilling Tales and just use her as a buffer for the main DPS. It’s not particularly well-suited to her kit, but the Thrilling Tales buff is powerful enough that any Catalyst user can be played this way, and Mona is no exception. |
Best Artifacts For Mona – 4-Emblem of Severed Fate
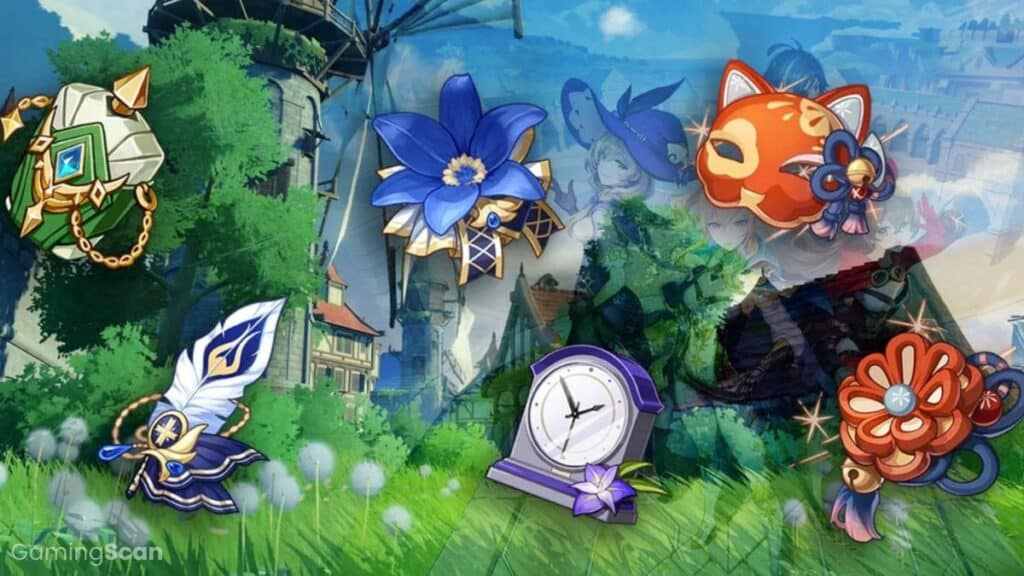
The 4-piece Emblem of Severed Fate set bonus looks like it was made for Mona. Most of her DMG comes from her Burst and this set greatly increases the DMG of that already hard-hitting Burst by building extra Energy Recharge.
Mona already rewards players with extra Hydro DMG for building Energy Recharge, so with this set bonus, you get triple the benefits that any other character would get from stacking this stat. You don’t want to overdo it, as basic offensive stats still shouldn’t be overlooked.
That being said, going for 200% Energy Recharge for a 50% DMG bonus to her Burst and 40% extra Hydro DMG to her entire kit is a nice stopping point. This will ensure that she has enough Energy to spam her Burst even in the Morgana team, where she spends next to no time on-field and has no other Hydro units in the team to battery her.
As far as main stats are concerned, Mona works best with Energy Recharge on the Sands, Hydro DMG on the Goblet, and CRIT Rate/CRIT DMG on the Logos. If you’re running her as a main DPS or you happen to get a lot of Energy Recharge through substats, you can give her an ATK% Sands instead.
As for substats, aim for CRIT Rate, CRIT DMG, and Energy Recharge. ATK% and Elemental Mastery are also nice to have, with the latter being particularly useful in Electro-Charged teams.
Technically, you could also run the 4-piece Noblesse Oblige on her, if no other character in the party already has it. This will significantly reduce her personal DMG output and make it more difficult to build a proper amount of Energy Recharge, but it is a completely viable alternative if you care more about buffing the DPS units
Best Team Composition For Mona
F2P Taser Mona
- Mona
- Fischl
- Beidou
- Xingqiu
Taser Mona is a great team for beginners who don’t have a lot of 5* characters and want to keep Mona on-field. In this team, Mona is used as the on-field attacker to keep applying Hydro on enemies, allowing off-field Electro DMG dealers to keep procing Electro-Charged for loads of AoE DMG. As mentioned previously, we highly recommend using the F2P craftable Hakushin Ring Catalyst in this team, as it will increase the Elemental DMG of all party members up to 20% at max refinement.
Fischl is the primary and most consistent source of off-field Electro DMG in this team. With proper usage, her Elemental Skill can have almost 100% uptime. Plus, this team works best when there’s another Electro DPS in it, and Fischl can serve to generate loads of Energy particles for them. An alternative to Fischl would be Electro Traveler, who can also provide off-field Electro DMG (but not as consistently) and battery any character with Energy even better than Fischl.
Beidou is the second source of Electro DPS. She’s only able to provide this utility through her Burst, which is why she works great with Fischl who can ensure that she has her Burst up and running as frequently as possible. While no other Electro character can compete with the amount of raw off-field DMG Beidou’s Burst deals, other characters like Lisa and Electro Traveler can still be used to ensure a steady flow of Electro-Charged reactions. Having two Electro characters will also unlock the Electro-Resonance, generating even more Energy for this power-hungry team.
Xingqiu is usually the character needed to enable taser team compositions, but here he’s just nice to have. His Elemental Burst deals a metric ton of off-field DMG, and at C2 he even buffs Mona’s Hydro DMG. If you don’t have Xingqiu, no worries, you can still run this team. But instead of replacing him with a Hydro character, we suggest running an Anemo character instead. The Anemo character can use the 4-piece Viridescent Venerer set to buff the DMG of other characters in the team. Sucrose is the best option, as she also buffs Elemental Mastery which affects Electro-Charged DMG, but any Anemo character will do, including Sayu and Anemo Traveler.
Damage-Per-Screenshot Mona
- Mona
- Bennett
- Kazuha
- Main DPS slot
Damage-per-screenshot Mona team is the composition used to achieve the highest DMG numbers imaginable on any character. In this team, Mona is only used as a support to cast her Burst as one of the sources of DMG buffing for the main DPS. This is one situation where using the Thrilling Tales of the Dragonslayer may well be the best weapon option for Mona.
Bennett is used to significantly buff the main DPS’s ATK stat. Mona’s buff and Bennett’s buff don’t overlap stat-wise, so there are no diminishing returns for the main DPS. If you’re using the Thrilling Tales on Mona, then you will see some diminishing returns on Bennett’s buff, but higher DPS is still higher DPS, and in this team, that’s all that matters. Kujou Sara can be used instead of Bennett.
Kazuha is used to buff the Elemental DMG of the main DPS. Once again, Kazuha’s buff doesn’t interfere with the buffs provided by Mona and Bennett, so there are no diminishing returns. Needless to say, Kazuha should be using the 4-piece Viridescent Venerer set to further reduce the enemy’s Elemental Resistance for the Element used by the main DPS. If the main DPS is a Geo or Anemo unit, use Zhongli instead.
Any character can be used as the main DMG dealer in this party. In fact, this is the method used by Genshin YouTubers to create eye-grabbing (albeit intentionally deceptive) thumbnails for their videos. The DMG you’ll see on these thumbnails or similar screenshots can only be reached through these gimmicky means. The situation is often exacerbated by their Mona, Bennett, and Kazuha having maxed out constellations and 5* weapons, potentially at max refinement.
We say this to temper expectations. This Damage-per-Screenshot Mona build will make it so that your DPS can achieve the biggest numbers your account is capable of, but they will likely be dwarfed by the screenshots of mega-whales and content creators using the same team. Nevertheless, a version of this team with Zhongli can still be used to enable even Ninngguang—a C-Tier DPS character—to one-shot Andrius with her Burst.
Morgana Team
- Mona
- Ganyu
- Venti
- Ayaka
Ganyu is used as the on-field DPS in this team. Thanks to Mona’s off-field Hydro application, she can keep enemies permanently Frozen with her Burst. If using the 4-piece Blizzard Strayer set, this allows Ganyu to easily reach insane CRIT Rate values without investing heavily into CRIT Rate. However, here’s the reason Mona is absolutely busted in this team—when enemies are Frozen, the duration of Mona’s Burst is effectively increased. This means Ganyu can benefit from Mona’s substantial DMG buff way longer than non-Cryo characters could.
Venti is hands down the best Anemo character you could slot in this team. This is because Frozen enemies have their weight set to zero, meaning they are still affected by Venti’s Burst even if they otherwise wouldn’t be. Furthermore, for reasons that would take too long to explain, Ganyu’s Burst does way more DMG when enemies are clumped close together. And only Venti can effectively keep them clumped together long enough for this to result in meaningful DMG. Against enemies who can’t be frozen, Kazuha is the better option. In any case, make sure to equip the Anemo unit with the 4-piece Viridescent Venerer to reduce the enemies’ Cryo Resistance.
Ayaka is the flex slot in this team. We used Ayaka because her Burst also works amazingly well against Frozen enemies, and Venti’s tornado helps ensure that they all suffer the full extent of her DMG potential. But you can use any Cryo character here, from Shenhe to Diona.
Is Mona Worth It?
As with all Standard Banner 5* characters, you don’t really get to choose to pull for them. They choose you, regardless of who you pull for.
That being said, Mona is arguably the best Standard 5* character any player can get, as she is both versatile and powerful.
Beginners can use her as a main DPS or a Support; bored players can use her to fish for big DMG screenshots; content creators can use her to create deceptive thumbnails; hardcore players can use her to tackle the most difficult content in the game.
So yes, Mona is worth it—she’s worth the resources needed to level her up and equip her with proper artifacts and weapons.
There’s just one caveat!
After you get her but before you start leveling her up, make sure you’re on board with Alternate Sprint gameplay.