Characters are the bread and butter of Genshin Impact, but the game doesn’t give you enough resources to raise them all to high levels. This means you need to commit to gearing and leveling only a few characters.
Which characters you choose can have a huge impact on how difficult you’ll find the game’s content to be. Aside from difficulty, some characters are mechanically better designed than others, and therefore more enjoyable to use.
This Genshin Impact Tier List will let you know which characters serve as more worthwhile investments so that you can satisfy all your optimization and/or min-maxing needs without any regrets.
But first, a few disclaimers before we start:
- This Tier List will not take into account how constellations affect character performance. Excluding the main character—whose constellations are received as quest rewards—each character is ranked at C0.
- This Tier List will favor characters who are versatile in addition to being powerful. For example, Raiden Shogun is not just amazing; she’s amazing in almost any team. This is why she’s in the S-Tier. Shenhe is perhaps as powerful in only one specific team but downright useless in others, so she’s not in S-Tier.
- Team composition is more important than the strength of any individual character. A team of synergistic 4* characters can easily outperform a team of randomly thrown together 5* characters. This means that every character—even the lowest-ranked ones—can be powerful in the right scenario.
- A character’s visual design, backstory, or any other non-mechanical attribute has no bearing on their ranking within this Tier List.
- To get the most out of any character, it’s not enough to just level them up. Which artifacts and weapons you equip them with will play a huge role in how effective they are. Read this guide to find the best artifacts for each character. For a ranking of the game’s weapons, check out our Tier Lists for Swords, Bows, Claymores, Polearms, and Catalysts in Genshin Impact.
Table of ContentsShow
S-Tier

The S-Tier is a rank reserved for only the best of the best—extremely powerful characters who can be used in several teams.

Raiden Shogun
Element: Electro
Weapon: Polearm
Raiden Shogun is arguably the best character in all of Genshin Impact. This is because she functions as both an S-Tier DPS and an S-Tier Support at the same time. No other character in the game comes even close to this kind of power and versatility.
With the Electro Archon, you’ll be able to mow down enemies and regenerate Energy for the entire team simultaneously. As if his weren’t enough, she also increases the Burst DMG of all characters in the party.
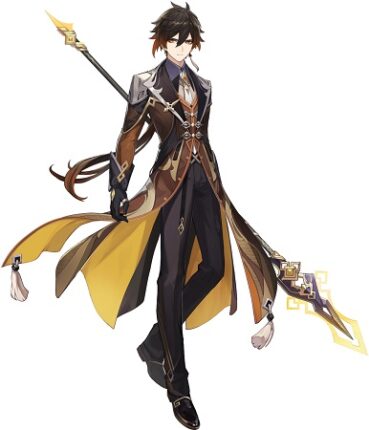
Zhongli
Element: Geo
Weapon: Polearm
Zhongli is the most unobtrusively useful character in the game, a fact that has not been shaken despite the many nerfs to shields in general. Every character can benefit from Zhongli’s support in some way.
The God of Geo is most often used as a support due to his immensely powerful shield that also reduces nearby enemies’ resistances. His Burst does massive damage and petrifies enemies, letting your DPS characters whale on them without any worries.
He can also function as a serviceable main DPS, although he’s not an S-Tier main DPS by any means.
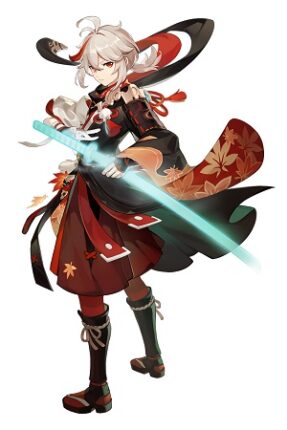
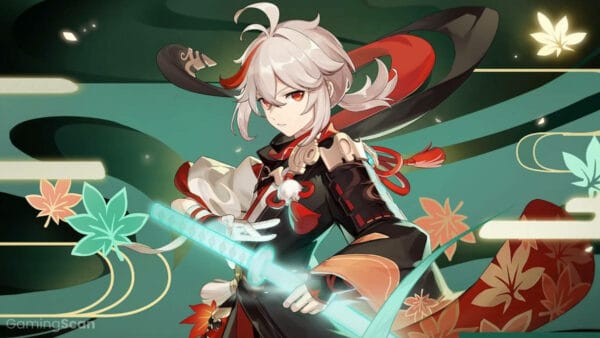
Kazuha
Element: Anemo
Weapon: Sword
Kazuha offers the most reliable source of crowd control in the entire game. On top of this, he’s able to output a lot of DMG as a Support, Swirl multiple Elements, debuff enemy resistances (through an artifact set bonus), and increase Elemental DMG for the rest of the party. With C2, he even buffs Elemental Mastery—not that this is necessary for him to rank in the S-Tier.
The fact of the matter is that, if you’re using a Cryo, Pyro, Hydro, or Electro DPS who focuses on Elemental DMG, Kazuha will be their best Support.
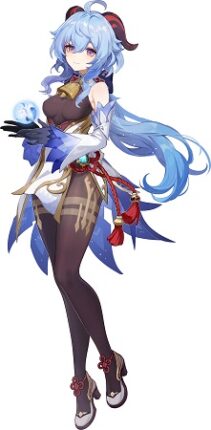
Ganyu
Element: Cryo
Weapon: Bow
Ganyu is one of the most powerful DPS characters in Genshin Impact thanks to her overpowered Charged Shots. Because the majority of her DMG comes from Charged Shots, Ganyu’s DMG output isn’t limited by cooldowns or Energy restrictions. For this reason, she is the game’s most consistent and resource-independent DPS.
On top of that, she can also function as quite a powerful Support, thanks to her Elemental Burst which has 100% uptime and covers a large AoE. So long as you can protect her with a shield, Ganyu can Melt (of Freeze) any encounter the game throws at you.

Kamisato Ayaka
Element: Cryo
Weapon: Sword
Ayaka is a powerful Cryo DPS who derives most of her DMG from her Elemental Burst. While this means that her DMG output—unlike Ganyu’s—has peaks and values, the peaks are so high that this can’t be considered a downside.
So long as you can ensure that enemies take the full brunt of her Burst—either by Freezing them or using crowd control—you can easily delete most enemies in the game. The reason she’s in S-Tier when many equally powerful DPS characters aren’t is because she can be used both as a main DPS and a Burst Support.

Yelan
Element: Hydro
Weapon: Bow
Yelan is a powerful and consistent off-field Hydro DPS. This makes her a shoo-in for any team focused on Freeze, Vaporize, or Electro-Charged Elemental Reactions. In addition to this, she also buffs the DMG output of the on-field character by quite a bit, making her a great Support even in teams not focused on Elemental Reactions, such as Eula comps.
Last but not least, due to her HP scaling, Yelan is an incredibly F2P-friendy unit. This last point does affect her ranking, but it’s worth mentioning nonetheless. You simply cannot go wrong with her.

Bennett
Element: Pyro
Weapon: Sword
Bennett is considered by many to be the best 4* character in Genshin Impact. This is because his Elemental Burst provides a massive ATK buff to active characters who stay inside its radius. Best of all, the ATK buff only scales with Bennett’s base ATK. You can read his build guide to learn why this is such a big deal.
It helps that he’s also a competent healer and capable of generating lots of Pyro Energy. But even without this, Bennett would be amazing simply due to how overpowered his ATK buff is.

Xingqiu
Element: Hydro
Weapon: Sword
Xingqiu is essentially a 4* version of Yelan—an off-field Hydro DPS who can be used to facilitate Freeze, Vaporize, and Electro-Charged Elemental Reactions. On top of this, his DMG output is noteworthy. He also provides a bit of healing and DMG resistance, but—once again—his Elemental Burst is the only deciding factor in his S-Tier placement.
The role of an off-field Hydro DPS with such consistent Hydro application is so powerful in Genshin Impact that both Yelan and Xingqiu can coexist in the S-Tier.
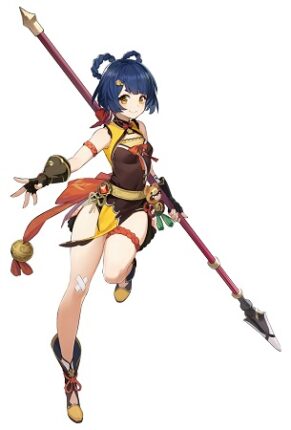
Xiangling
Element: Pyro
Weapon: Polearm
Xiangling is an off-field Pyro DPS used to provide consistent access to Melt and Vaporize Reactions—the most damaging Elemental Reactions in the game. What’s unique about her Burst is that it can apply Pyro on every hit, whereas most other abilities in the game have a cooldown of either 2.5 seconds or 3 hits (whichever comes first) before they can reapply their Element.
This, combined with the fact that she has a huge selection of great weapon choices, is enough to propel Xiangling—a free character that all players are guaranteed to get by playing the game—into the S-Tier.
A-Tier

A-Tier is a rank reserved for amazing characters you can use without any drawbacks. The only reason they aren’t in the S-Tier is because they aren’t brokenly good.

Hu Tao
Element: Pyro
Weapon: Polearm
Hu Tao is the most powerful single-target DPS character in the game. She also has one of the more unique play styles in the game, requiring her to stay at low health in order to maximize her DMG.
This high-risk high-reward mechanic has made her a fan favorite. With access to a shielder and consistent Vaporize Reactions, Hu Tao can crush through any content the game can throw at her.
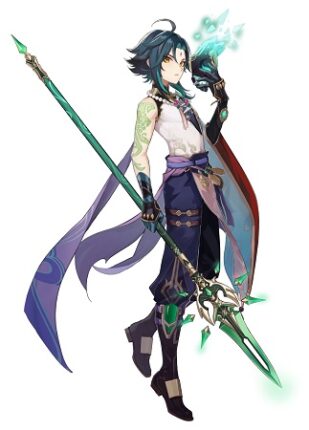
Xiao
Element: Anemo
Weapon: Polearm
Xiao is another DPS character with a unique playstyle. Namely, his Elemental Burst converts his attacks into Anemo and allows him to jump ridiculously high and spam Plunging Attacks for huge DMG in a large AoE.
As an Anemo DPS, Xiao is one of the most versatile characters in the games, as Anemo is the least resisted Element in the game. By contrast, Ayaka and Hu Tao are rendered useless when faced with Elemental Shields of their type of enemies who are otherwise immune to Cryo or Pyro respectively.
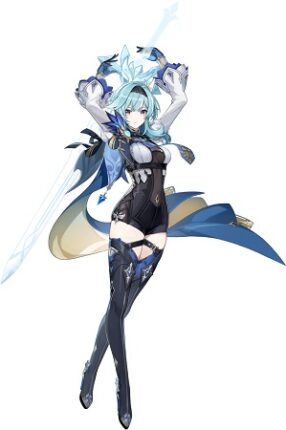
Eula
Element: Cryo
Weapon: Greatsword
Eula is the most powerful Physical DPS in the game. This makes her even more versatile than Xiao, as there are absolutely no enemies who are outright immune to Physical DMG. Moreover, Eula’s Burst has the potential to erase any enemy in the game in one hit when it explodes.
The only issue is that the Burst DMG is back-loaded—it explodes after a long wind-up, during which Eula will likely kill all enemies or bring their HP so low that the Burst explosion will simply be overkill. As if this wasn’t enough, enemies also have a habit of exiting the ability’s AoE.
Nevertheless, Eula is a beast deserving of a place among the highest echelons of A-Tier.
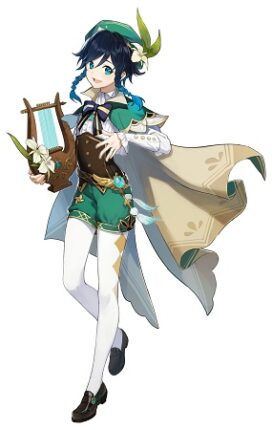
Venti
Element: Anemo
Weapon: Bow
Venti was once the highest-rated S-Tier character in Genshin Impact due to his insane crowd control. Even now, the ceiling on Venti’s crowd control is much higher than Kazuha’s. However, the developers have simply designed many new enemies outright immune to it.
There is a way to bypass this immunity by Freezing enemies (the ones that can be Frozen), and with how popular and powerful Freeze teams are, Venti is still a force to be reckoned with. The God of Anemo can still trivialize some content in the game, but he can no longer trivialize all of it.
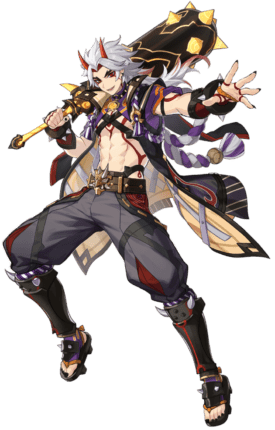
Arataki Itto
Element: Geo
Weapon: Claymore
Itto is a DEF-scaling Geo DPS who packs quite a wallop. In terms of DPS characters, he is our gold standard for A-Tier—not quite on the cusp of S-Tier like Hu Tao and Eula, but still perfectly capable of clearing any content thrown his way.
His kit is also rather engaging, with a focus on procuring stacks which can be expended to perform unique Charged Attacks.
Kamisato Ayato
Element: Hydro
Weapon: Sword
Ayato is a main DPS capable of covering a wide AoE with his unique Hydro-infused Normal Attacks. He is a solid all-rounder who can be used in many teams. His Elemental Burst does offer some utility through added Hydro application, but nothing quite on par with Yelan and Xingqiu.
Nevertheless, if you want a powerful Hydro main DPS, Ayato is a great choice.
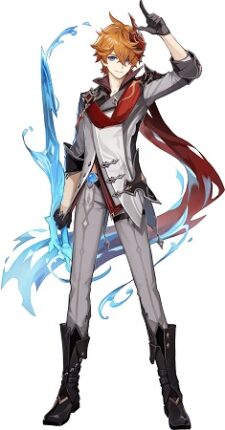
Childe (Tartaglia)
Element: Hydro
Weapon: Bow
Childe is quite similar to Ayato—another Hydro main DPS who uses his Elemental Skill to infuse his weapon with Hydro. While technically a ranged Bow user, Childe gets most of this DMG from his melee stance.
The DMG difference between Ayato and Childe is small—Ayato comes out ahead in most situations, but Childe wins out against groups of clustered enemies where his riptide procs erase enemy HP bars. Childe also attacks so quickly that he’s usually the character who sets up Elemental Reactions and not the one who procs them.

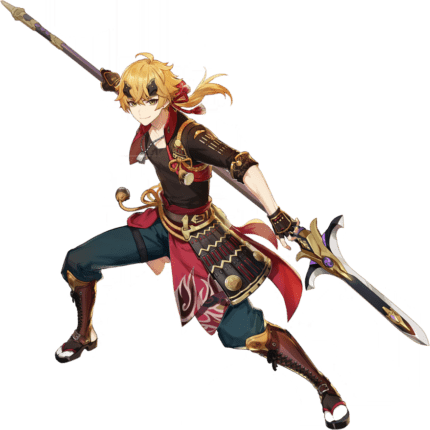
Yoimiya
Element: Pyro
Weapon: Bow
Yoimiya is a ranged single-target Pyro DPS whose defining characteristic is her Normal Attack Pyro infusion. Yoimiya functions like ranged Hu Tao, with a lower DMG ceiling but better ease of use.
Unlike Hu Tao, she’s can work in both Vaporize and Overload team comps, the latter of which can make up for her lack of AoE in certain situations.

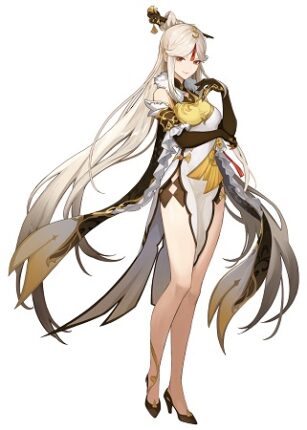
Jean
Element: Anemo
Weapon: Sword
Jean is primarily a healer, but her kit has a definitive jack-of-all-trades vibe to it. She can heal, crowd control, debuff (with an artifact set bonus), and deal some serious DMG. The way we see it, Jean is the most versatile character you can lose the 50/50 to and one who can find a home in most teams.
If you need a healer who doesn’t require on-field presence to keep the entire team safe, Jean is your best bet. Plus, her Elemental Skill can ragdoll enemies for some hilariously high fall DMG.
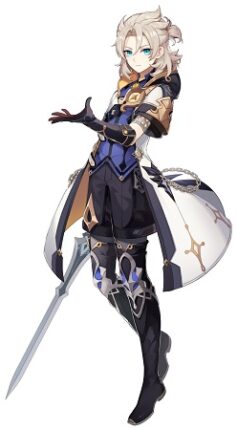
Albedo
Element: Geo
Weapon: Sword
Albedo is a simple yet effective off-field Geo DPS. His Elemental Skill has 100% uptime and adds a sizeable chunk of Geo DMG whenever an enemy inside it gets hit, with a very low cooldown between procs.
While the DMG ceiling on Albedo isn’t immense, it’s certainly high and quickly adds up. Plus, he works best with non-5* weapons, making it easy for F2P players to reach his DMG ceiling, which isn’t the case for most other characters in this game.
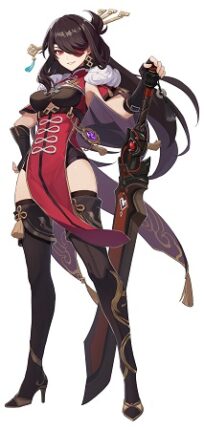
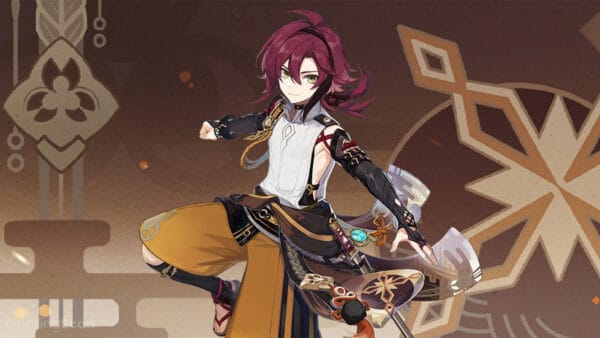
Beidou
Element: Electro
Weapon: Claymore
Beidou is an off-field Electro DPS who brings an insane amount of DMG to the table when facing at least two enemies. Against a single enemy, her DMG ceiling is much lower.
Nevertheless, Beidou is the crux of most Electro-Charged teams and one of the most powerful 4* characters in the game in terms of raw DMG output. Her Elemental Skill can also be used to avoid DMG and reflect it at opponents, which is always fun.
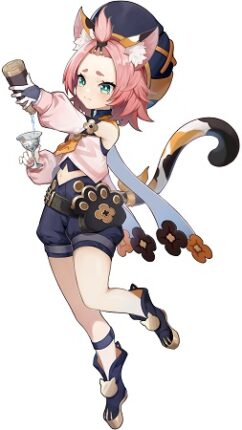
Diona
Element: Cryo
Weapon: Bow
Diona is a 4* Support who can do it all—she shields, she heals, she generates Energy, and she applies Cryo. Most importantly, she excels at providing all of these utilities.
If there is a hole in your team, chances are Diona can patch it. If the team featured a Cryo DPS, chances are she’s the best Support you could choose.
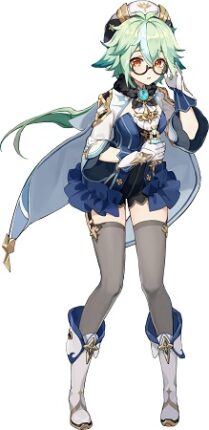
Sucrose
Element: Anemo
Weapon: Catalyst
Sucrose is the best 4* Anemo Support in the game, thanks to her crowd control capabilities and Elemental Mastery buffing. This makes her a great Support for any Pyro, Cryo, Hydro, or Electro DPS characters, especially in a team focused on Elemental Reactions.
She can also function as one of the best on-field Attackers for Electro-Charged teams, thanks to all of her Normal Attacks dealing Anemo DMG.
B-Tier

B-Tier is a rank reserved for powerful characters who still have some drawbacks—they could be amazing characters who can only be used in very specific teams or versatile characters that just can’t compete with A-Tier ones in terms of DMG or utility.

Yae Miko
Element: Electro
Weapon: Catalyst
Yae Miko is an off-field Electro DPS with 100% uptime on her Elemental Skill. She also has a highly powerful Elemental Burst. Regardless of what team you put her in, Yae Miko will bring a ton of DMG.
However, Yae Miko’s team options are somewhat limited due to her prohibitively expensive Elemental Burst. In other words, you can’t just drop Yae Miko in any team (as you could Albedo) and expect her to perform optimally. This is the only reason she’s not in A-Tier.

Sangonomiya Kokomi
Element: Hydro
Weapon: Catalyst
Kokomi is a Hydro healer who needs to stay on-field for maximum effectiveness. In other words, she’s a healer who also wants to be a main DPS. You certainly can play her this way, but you need to build the entire team around her. And given that she has -100% CRIT Rate, she’s not the best DPS character to build a team around. She’s effectively immortal but very restrictive in terms of teambuilding.
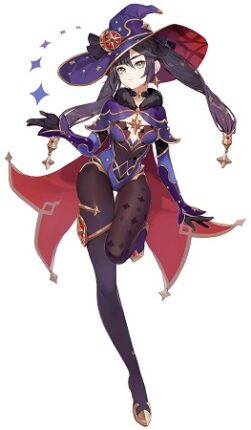
Mona
Element: Hydro
Weapon: Catalyst
Mona is a Hydro Support who can massively increase the DMG enemies take thanks to her Burst’s debuff. Of the five Standard Banner 5* characters, Mona sees the most meta success. This is thanks to her usefulness in Freeze teams, where the effects of her already powerful debuff becomes extra potent.
That being said, while Mona’s Burst can be used in any team, she’s really only used in Freeze teams, which is why we’ve ranked her in B-Tier. She’s definitely powerful but requires the right light to truly shine.
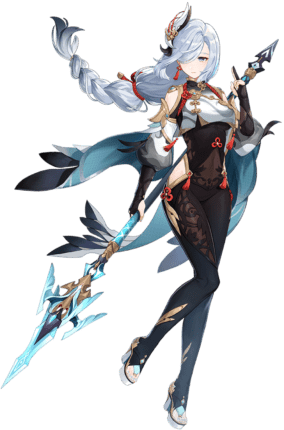
Shenhe
Element: Cryo
Weapon: Polearm
Shenhe is a Support specifically made for Cryo characters. It helps that there are a lot of Cryo characters in the game—and that some of the best S-Tier DPS characters are Cryo—but this is the very definition of restrictive team building.
To clarify, Shenhe is an amazing Support for Cryo characters. If you want to make Ganyu or Ayaka even more powerful—not that they need it—using Shenhe is the way to go. But we cannot rank such a niche character higher, especially when Kazuha can also buffs the same characters almost as much and still be useful if you decided to switch Elements.

Yun Jin
Element: Geo
Weapon: Polearm
Yun Jin is a Normal Attack DMG buffer. To characters who deal the majority of their DMG through Normal Attacks, she offers as much value as Bennett or more.
But given that such characters are few and far between, we can’t rank her any higher than this.

Gorou
Element: Geo
Weapon: Bow
Gorou is a DEF buffer who’s amazing at supporting Geo characters. Since there are several A-Tier DEF-scaling Geo characters—Itto, Albedo, and C6 Noelle—Gorou functions as a great niche Support.
In a team with these DEF-scaling Geo characters, Gorou is hands down the best Support you could use, easily outperforming the likes of Bennett. But in any other team, Gorou is nothing more than a liability, hence the B ranking.
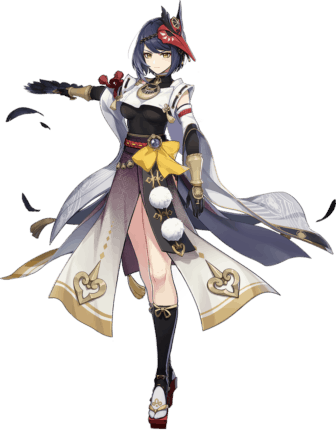
Kujou Sara
Element: Electro
Weapon: Bow
Kujou Sara is an ATK buffer capable of dishing out a fair bit of DMG in her own right. As a universal ATK buffer, Kujou Sara is a strictly worse version of Bennett. However, with constellations, Sara becomes specialized in Supporting Electro characters.
Even at C0, though, Kujou Sara is amazing at Supporting Raiden Shogun, the very best character in the entire game. If you don’t use Raiden, you’ll have little use for Sara.
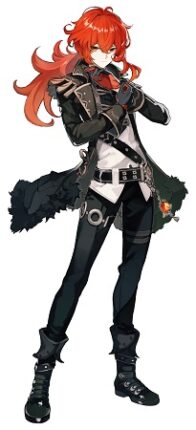
Diluc
Element: Pyro
Weapon: Claymore
Diluc is a Pyro DPS character best known for being the strongest DPS at the time of Genshin Impact’s release. While he has since been power crept, Diluc is still a perfectly capable DPS who has an incredibly simple yet effective kit.
Not to mention that one of the most powerful 4-piece artifact sets was made specifically for his kit. If you run him in a team focused around procing Melt or Vaporize Reactions, Diluc can still get you far in this game.

Klee
Element: Pyro
Weapon: Catalyst
Klee is a Pyro DPS character who once dethroned Diluc as the King of DMG. However, Klee is neglected by most of the players who have her due to how incredibly clunky her kit is. Yes, she can do some good DMG, but she also has to spend Stamina chasing after the enemies that her attacks invariably knock away from her. On top of this, you are required to perform some demanding animation cancels to maximize her DMG output.
All of this has led to Klee being tied with or just below Diluc in terms of old-school 5* Pyro DPS characters. In theory, she can do more DMG, but you have to jump through several hoops just to stay competitive.
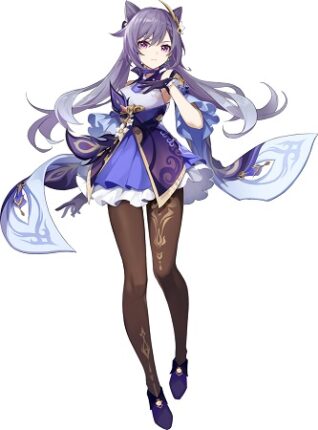
Keqing
Element: Electro
Weapon: Sword
Keqing is yet another character who dominated the DPS charts during the game’s infancy only to be forgotten. Unlike Diluc, who has the benefit of Melt and Vaporize Reactions as well as his own 4-piece artifact set, Keqing never received itemization support tailor-made for her kit.
The fact of the matter is that she’s underpowered for a 5* character, to the point where many 4* characters can outdamage her. You can still get great results with proper itemization and optimal synergies, but understand that you’ll have to invest quite heavily into Keqing just to get middling results compared to other main DPS characters.
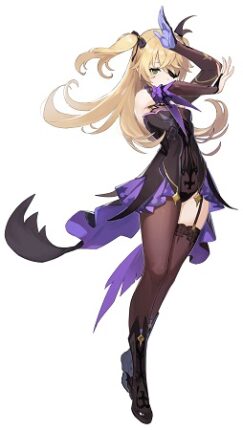
Fischl
Element: Electro
Weapon: Bow
Fischl is a single-target off-field Electro DPS that generates a ton of Electro Energy. At C0, her Elemental Skill can have near 100% uptime with proper cooldown management. While she can be used in any team that needs reliable access to off-field Electro, she works best in teams that also run Beidou, as the two characters perfectly complement each other.

Rosaria
Element: Cryo
Weapon: Polearm
Rosaria is an off-field Cryo DPS whose most unique characteristic is the ability to share a portion of her CRIT Rate with the rest of the team. With how huge a role CRIT stats play in Genshin Impact, Rosaria is a great addition to any team that can fit her. This includes Freeze teams, Melt teams, and Physical DMG teams.

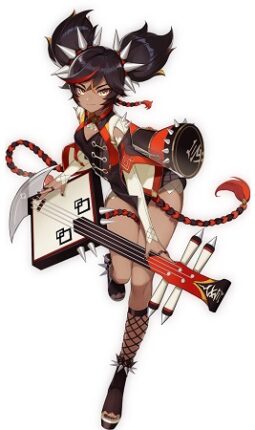
Yanfei
Element: Pyro
Weapon: Catalyst
Yanfei is an on-field Pyro DPS whose kit revolves around building up to powerful Charged Attacks. As a 4* main DPS, Yanfei quickly gets outclassed by 5* characters, although access to Melt and Vaporize Reactions still makes her viable for endgame content.
At C4, Yanfei becomes Tankfei—the best Pyro shielder in the game, with the added option of healing the entire team through proper itemization. Yanfei’s C4 unlocks a completely new party role for her, which is why we’ve made an exception here and weighed the value of this constellation while determining her ranking. Without it, she’s a C-Tier unit.
C-Tier

C-Tier is a rank reserved for characters who are competent at what they do, but simply not as useful overall as any of the characters ranked above them.
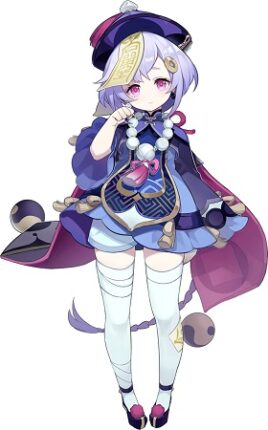
Qiqi
Element: Cryo
Weapon: Sword
Qiqi is, to this day, the best healer in Genshin Impact if we only look at the amount of raw healing she provides. The reason she ranks so low and is disliked by the community is because she offers no additional utility.
What’s more, because she generates no Energy and has an 80 Energy Burst, she actually needs support to be a good Support. That’s a lot of hoops to jump through just for a healer when other characters can heal just fine and provide other utility in addition to this.
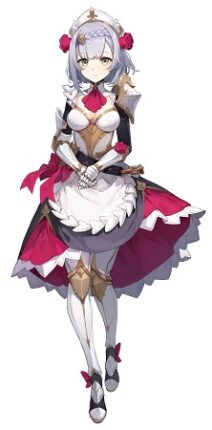
Noelle
Element: Geo
Weapon: Claymore
Noelle is a healer, shielder, and DPS, all in one. What’s more, at C6, she’s genuinely an A-Tier DPS character who can hold her own against the likes of Itto and Xiao. If you’ve got her at this constellation, she’s worth building an entire team around.
But, at C0—which is how all characters are ranked in this Tier List—she’s not exactly great at anything, featuring a shield with long downtime, inconsistent healing, and low DMG.
Ningguang
Element: Geo
Weapon: Catalyst
Her only drawback is that she doesn’t have much synergy with non-Geo characters, severely limiting her team choices. You could run Ningguang as a Burst Support in any team, but unless you’re building the team around her, she won’t ever be an optimal part of the team.
Ningguang is a single-target Geo DPS character. Despite being a 4* character, Ningguang’s single-target DMG output is simply astonishing.

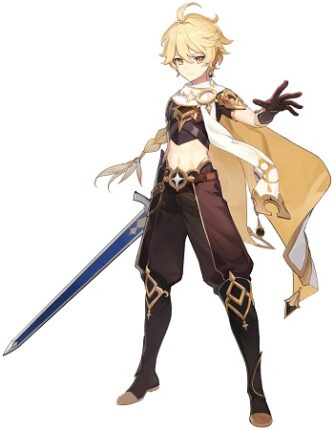
Geo Traveler
Element: Geo
Weapon: Sword
Geo Traveler is the only Traveler variant that’s actually capable of doing decent DMG as a sub-DPS. Moreover, their Elemental Burst can be used to increase the CRIT Rate of the active character. While there’s no shortage of characters who can do everything Geo Traveler does but better, they are, nonetheless, a competent DMG dealer who can carry their weight in the party.

Chongyun
Element: Cryo
Weapon: Claymore
Chongyun is a Support who has the unique ability to infuse the Normal and Charged Attacks of any melee character standing inside the radius of his Elemental Skill with Cryo DMG.
While this can be used to great effect in a few select teams, unless you know what you’re doing, Chongyun is going to do more harm than good. And even if you do know what you’re doing, he’s not exactly amazing unless you’re also running Shenhe.
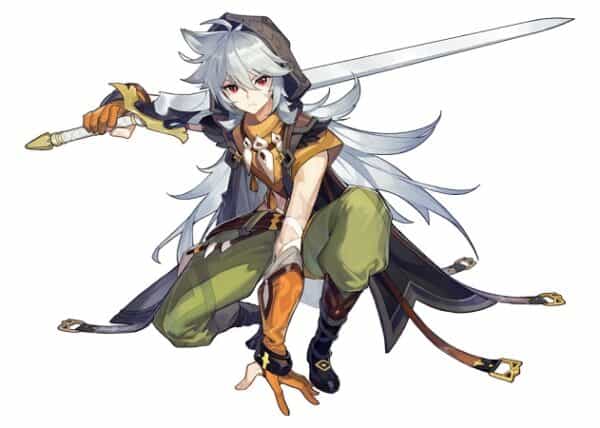
Razor
Element: Electro
Weapon: Claymore
Razor is a powerful 4* main DPS who uses both Physical DMG and Electro DMG to hack and slash enemies around him. At C0, Razor is probably the best main DPS among the 4* roster. With constellations—especially his C4—he can compete with some B-Tier DPS characters.
But given that he is a main DPS who requires on-field time to be effective, Razor is a character who gets replaced as soon as a player gets a 5* DPS.
Kuki Shinobu
Element: Electro
Weapon: Sword
Kuki Shinobu is an HP-scaling Support who provides both off-field healing and off-field Electro DMG with barely any downtime. With the Favonius Sword and Tenacity of the Millelith set bonus, she offers amazing role consolidation as a healer, Electro applicator, ATK buffer, and Energy battery.
However, both her healing and her DMG are unremarkable. So, unless you specifically need one character to fill all of these roles—which could happen in some Electro-Charged teams—there’s no merit to using Shinobu.
Lisa
Element: Electro
Weapon: Catalyst
Lisa is a clunky character. At C0, her only redeeming quality is her Elemental Burst, which deals a ton of Electro DMG and even reduces the DEF of enemies hit by it. Since DEF reduction is arguably the best debuff in the game, C0 Lisa sees some use in certain Eula teams or Electro-Charged teams. If not for this, she’d be in the F-Tier with other clunky characters.
Kaeya
Element: Cryo
Weapon: Sword
Kaeya is easily the best free character players get at the very beginning of the game. He can function as a main DPS or sub-DPS and he generates a lot of Cryo Energy. Overall, he is a serviceable character with a coherent kit. He does get power crept quickly, though, as Rosaria is basically a better version of him and she’s still a 4* character.
Sayu
Element: Anemo
Weapon: Claymore
Sayu is an Anemo Support best known for her ability to spin around like Sonic the Hedgehog and deal Anemo DMG to all enemies in her path. She’s also a healer and offers some—but not much—off-field Anemo DMG.
While this all sounds amazing in theory, in practice, Sayu deals very little DMG and her healing is nothing to write home about either. She’s still useful as an Anime Support because she can use the 4-piece Viridescent Venerer set bonus.
Electro Traveler
Element: Electro
Weapon: Sword
Electro Traveler is great at funneling Energy into any Energy-hungry character. This means you can use them as a battery in any team. But at the same time, they’re also not the ideal pick for any team. So, while their kit has the coherence needed to stay in C-Tier, Electro Traveler just isn’t impactful enough to rank any higher.
F-Tier

F-Tier is a rank reserved for characters who are objectively flawed in some way—some have incoherent kits while others have serious drawbacks to using them.

Barbara
Element: Hydro
Weapon: Catalyst
Barbara is a healer and quite a competent one at that. Her Burst can instantly replenish HP to everyone in the party. However, none of Barbara’s abilities do any DMG whatsoever. The Elemental Skill can technically apply Hydro to enemies if you get close enough, but it’s not reliable.
Worst of all, her Elemental Skill applies Hydro to herself, which can and will sometimes result in the active character getting Frozen. So, not only does Barbara offer nothing aside from healing, but her Skill can also sabotage you.
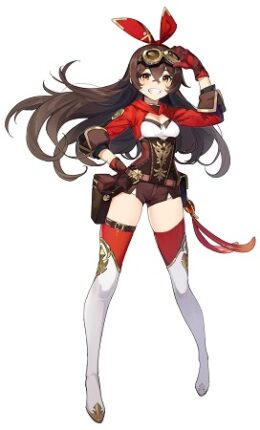
Amber
Element: Pyro
Weapon: Bow
Amber is bad at being a main DPS and even worse at everything else, with a kit full of inconveniences. Her taunt would work find if she could manually detonate it without constellations, but at C0, she can’t rely on it to do anything. Her Burst does a bit of AoE DMG and destroys non-Pyro shields quite competently—not bad, but not impressive by any means.
Again, you can get big DMG numbers with the right setup, using Charged Shots against Frozen enemies’ weak spots. But this is such an inconvenient way to deal DMG.
Xinyan
Element: Pyro
Weapon: Claymore
Xinyan is a Pyro shielder with split-scaling—meaning some of her abilities scale with her ATK while others scale with her DEF. If you focus on increasing her shield durability, you sacrifice DMG. If you focus on her DMG, you get an underpowered shield.
Thoma
Element: Pyro
Weapon: Polearm
Thoma is yet another Pyro shielder, this time with some off-field Pyro application thrown in. But, there’s a catch—the active character has to perform Normal Attacks to constantly refresh his shield, otherwise, it won’t tank any DMG. Oh, and his Elemental Burst costs 80 Energy, he generates very little Energy, and his off-field DMG is horrible. Yeah…

Aloy
Element: Cryo
Weapon: Bow
Aloy is technically a 5* character, but her stats are more in line with those of 4* characters. She has some cool moves, like the ability to infuse Normal Attacks with Cryo, but you have to jump through several hoops to activate this. Her Burst is also a no-nonsense high DMG AoE strike that’s as strong as it is simple. But with the clunky infusion, 4* stats, and lack of any constellations, Aloy is just not worth using.
Anemo Traveler
Element: Anemo
Weapon: Sword
Anemo Traveler is arguably the worst variation of the main character, thanks to their Elemental Burst which pushes enemies away and makes it harder to continue doing DMG to them. Their Elemental Skill is okay, but not enough to make the character worth using.
Nevertheless, Anemo Traveler is a character we often mention as a F2P replacement option in team composition sections of our character guides because he can use the 4-piece Viridescent Venerer set bonus—arguably the best set bonus for Supports in the game.